Wisdom in mind, enthusiasm at heart.
|
|
Wisdom in mind, enthusiasm at heart. |
||||||
|
|
|
|
|
|
|
|
|
|
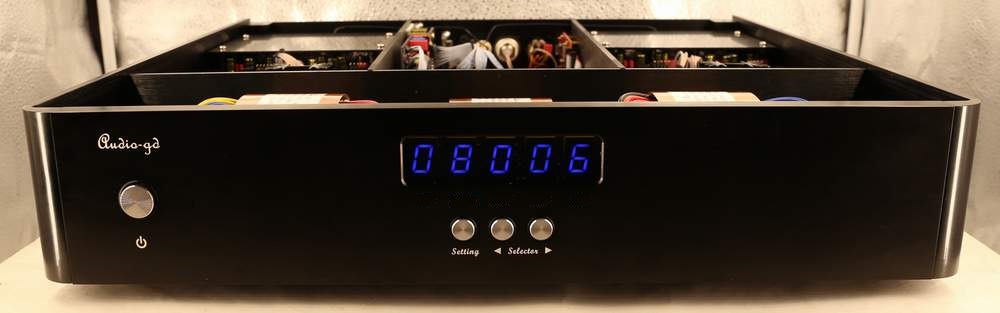
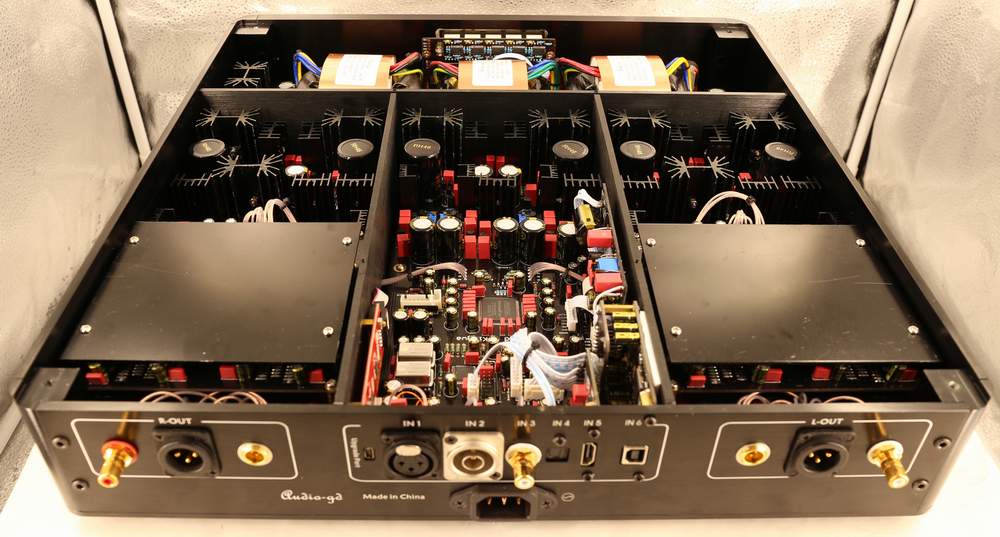
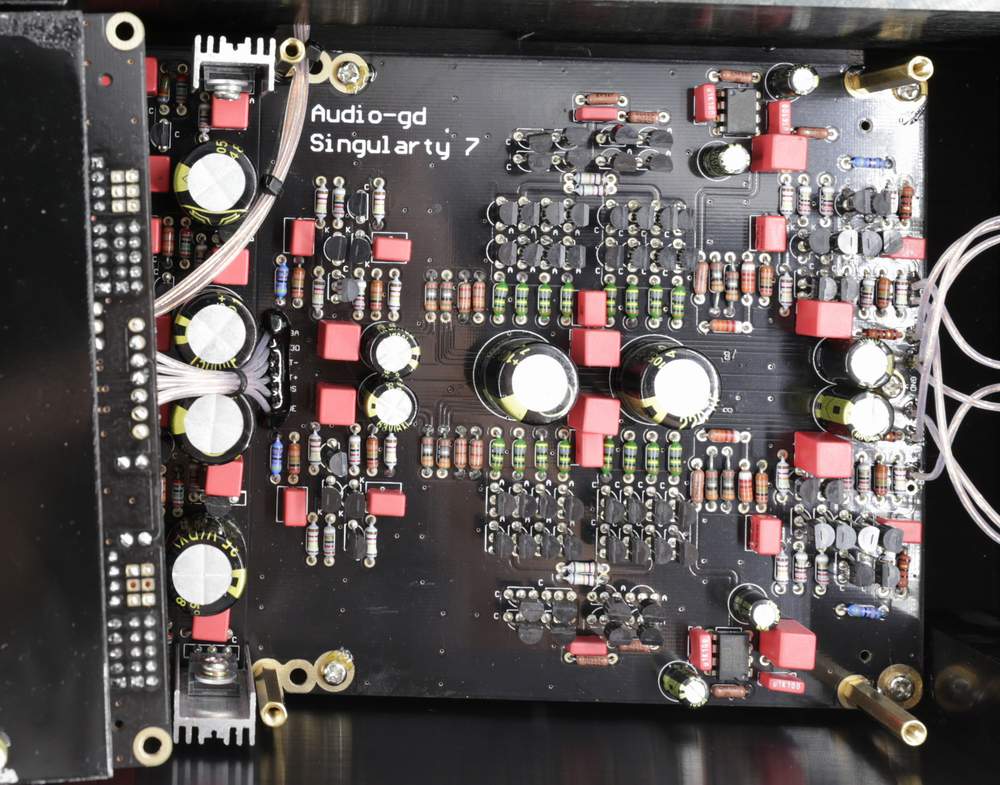
R-7 (2020 version)
Fully Discrete R-2R Resistor
Ladders DAC
All
Digital Settings accesible By Buttons On Front (No need to open
the chasis).
|
|
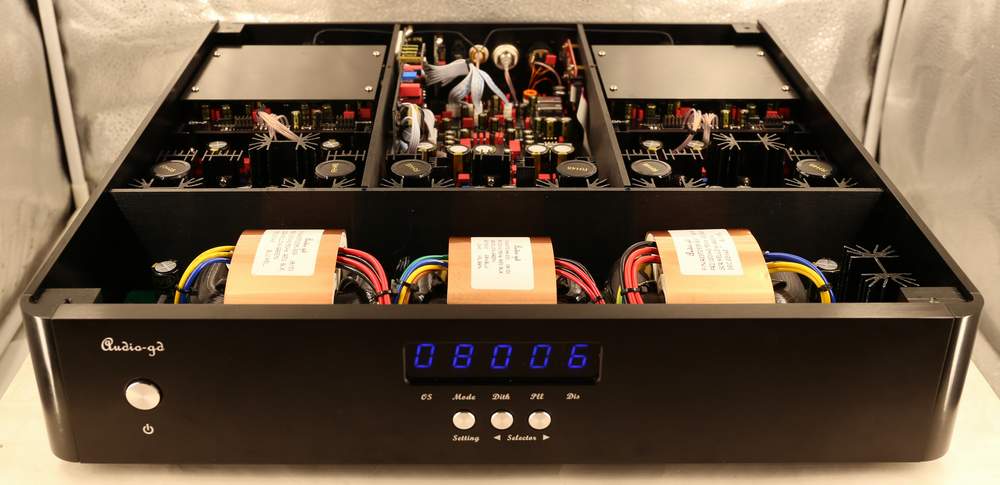
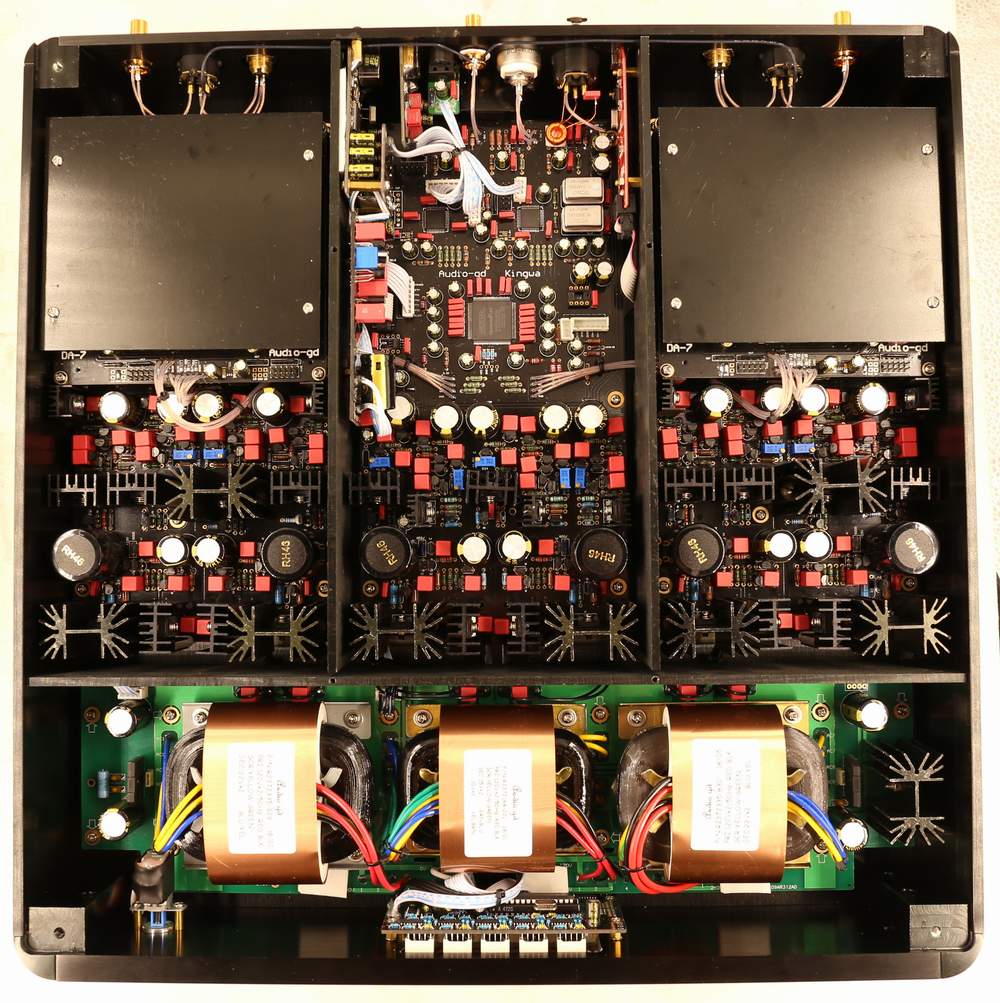
Built in 4
groups DA-7 V2 modules |

 |
|
|
|
|
|
|
|
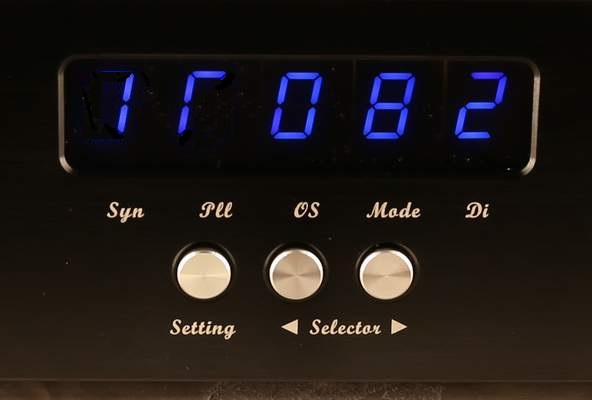
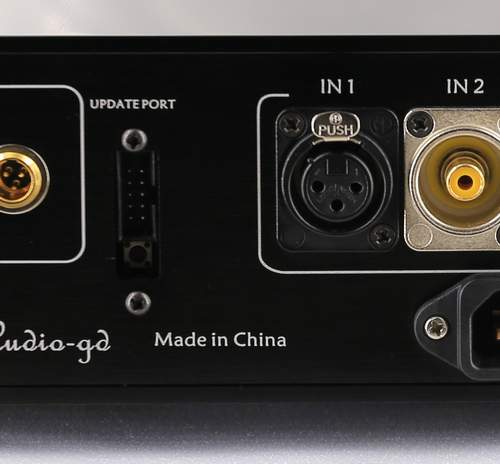
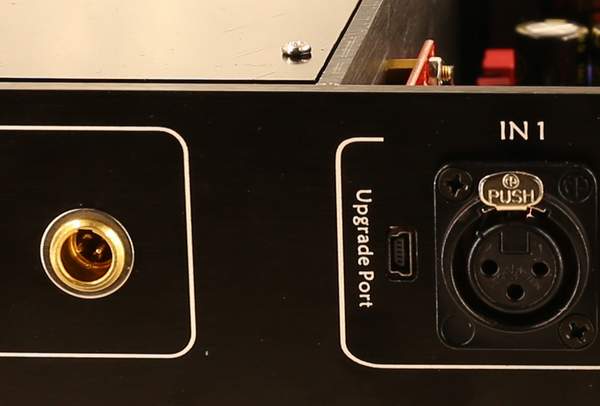
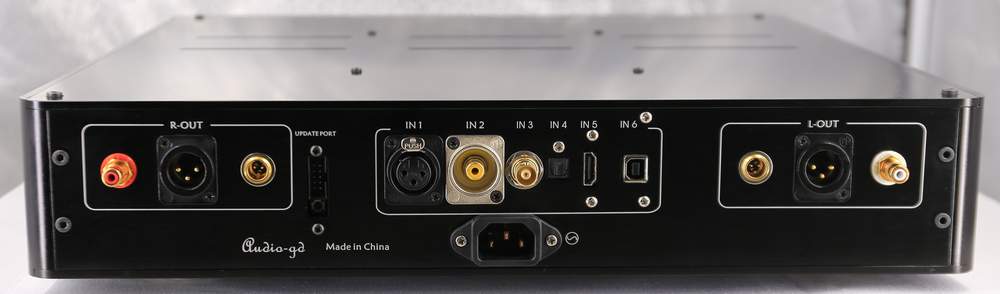
Please note: The product even had burn in over 300 hours before shipping. You can power on it with playing music if you are at home for quickly finished burn in. If you don't want listen music during the burn in term, you can turn the amp volume to minimum. The product had the pure class A analog amps and PSUs design, we are not recommend stack other products on its top directly, it need least 3CM room on its top side. Also we are not recommend stack it on the top of other hot products , it should place on the shelf . Please power off before connect or disconnect the inputs and outputs . Power on the product must had more than the half minute after last power off . Function introduce : 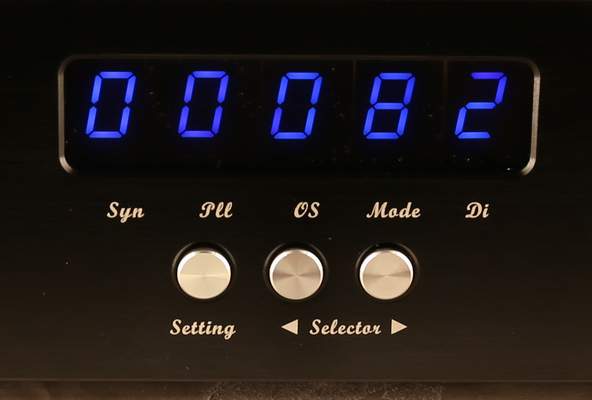 Setting button : Push the "Setting" button one time, the one digit display will blink for active the function setting , push the right "Selector" button can change function . While the display blink, push "Setting" again , the right next one digit display will blink , push the left "Selector" button the left next one digit display will blink . While the "Dis" LED blink, push the "Setting" one time , the menu will change to menu page 2. Left Selector buttons: While the display non blink, for select the input sources. The 1st of right in the display show 1: AES/EBU digital input. The 1st of right in the display show 2: RCA coaxial digital input. The 1st of right in the display show 4: Optical digital input. The 1st of right in the display show 5: HDMI-IIS digital input. The 1st of right in the display show 6: USB digital input. (IN3 is the 50 ohm external clock input, setting through the below introduce ) The external clock input impedance must be 50 ohm, and must match with same impedance external clock generator and cable. While the display blink, for the setting digit move one left.
Right Selector buttons:
Menu Page 1:
Pll
(Simulate SAA7220 +TDA1541A sound) :
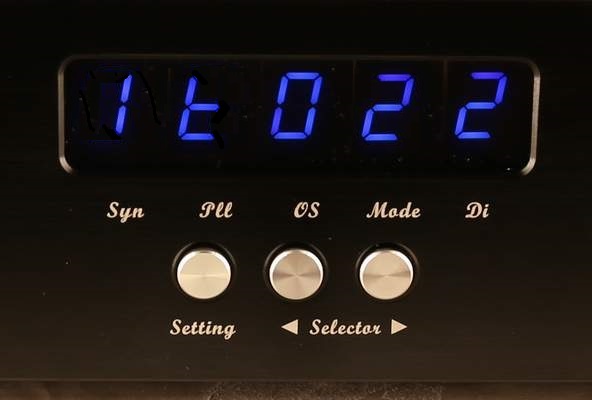
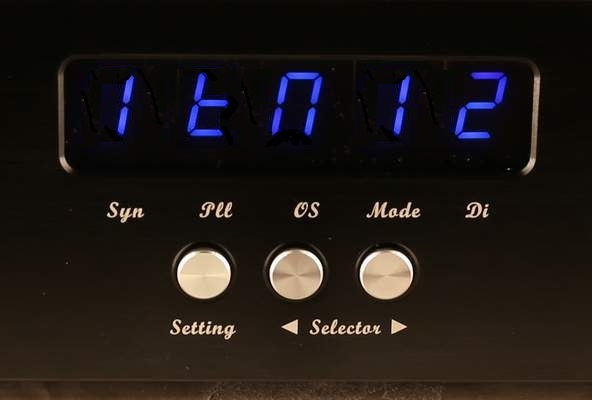
Menu Page 2:
Setting examples:
1,Set to most neutral sound mode
(8x oversampling, non TDA mode):
|
|
|
Firmware
update introduce:
|
备案序号:粤ICP备05020367号
版权所有: 何庆华
睿志音响
Copyright(C) 2004
www.audio-gd.com
All Rights
Reserved