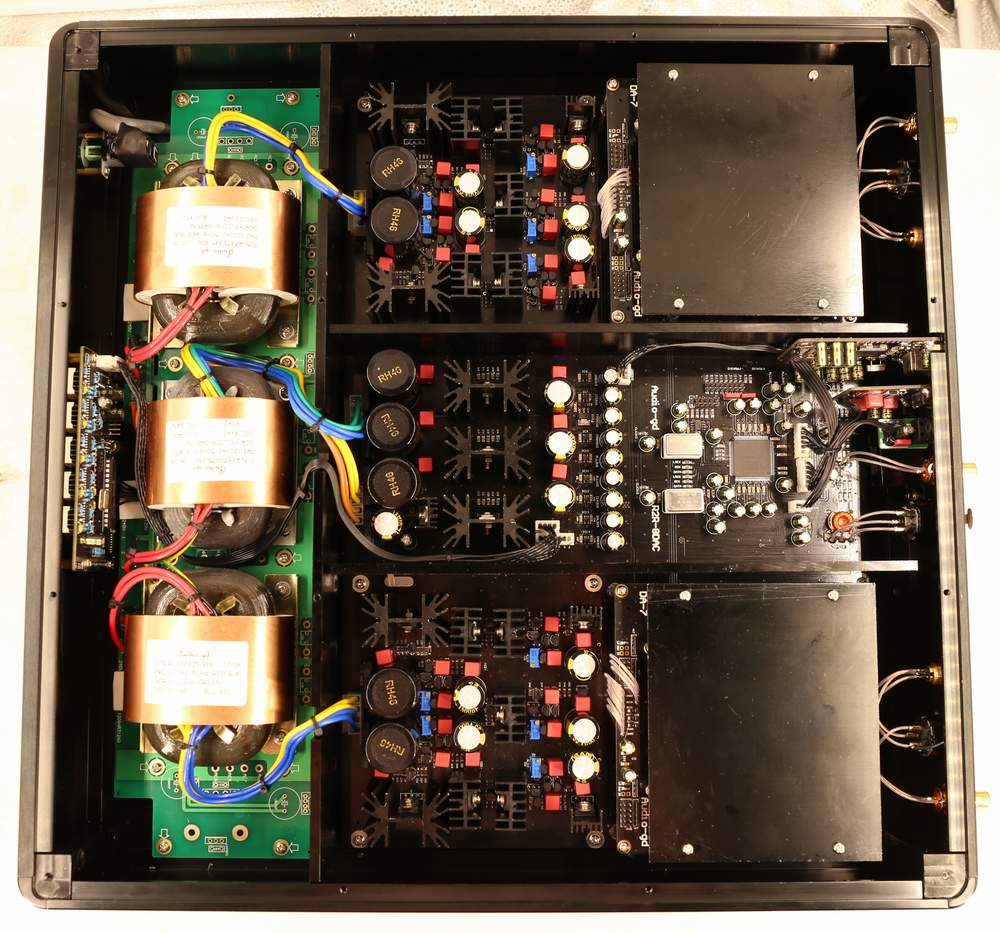
Function introduce :
The DAC can setting the digital
process functions on front plate to change the sound flavors, without open the unit .
Since 20th. Mar. 2019 the unit
built in tda_asy firmware. The older V3 firmware function
introduce please click to read it
R8_V3 firmwares function
introduce.
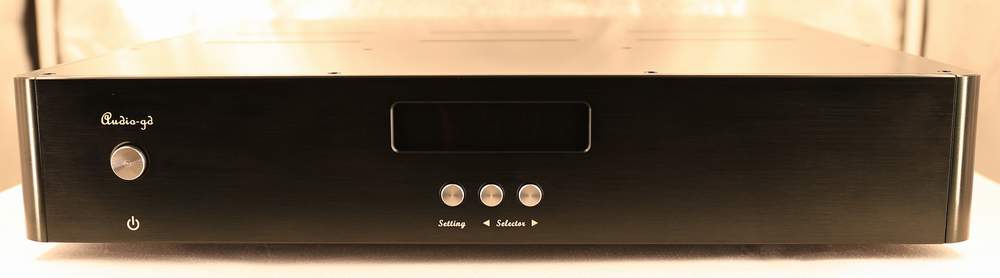
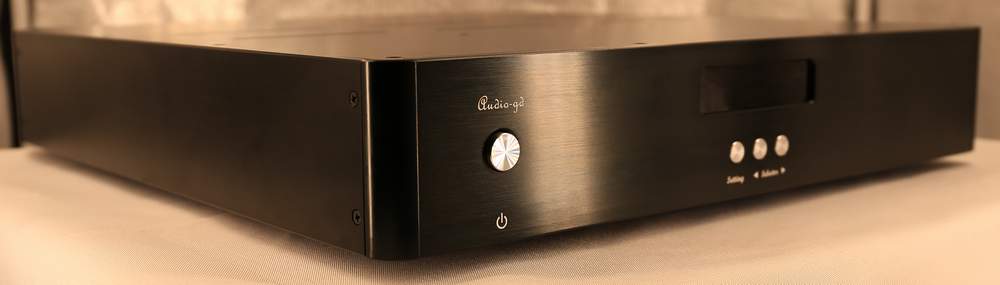
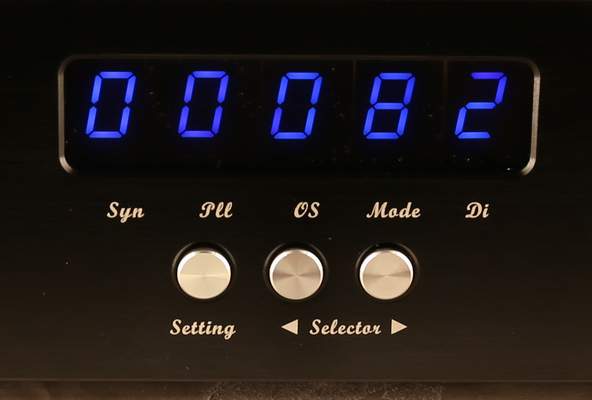
The front plate before Nov. 2019
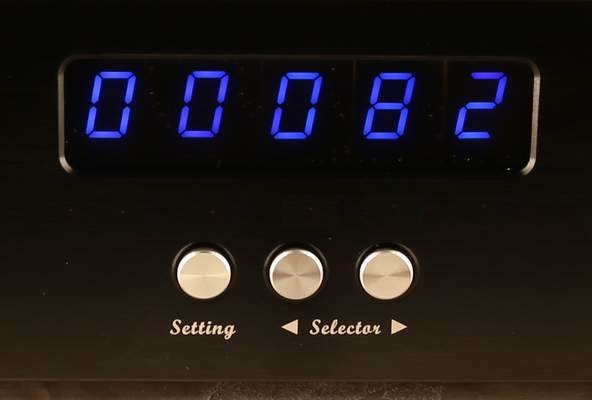
The front plate since Nov. 2019
Important warn:
Before push the
"Setting" button,
I are advice user turn low the amp volume, stop the
music track playing .
Because for
the aim to reproduce the best sound quality, the DAC without mute design , change the
setting may output circuit switch sound .
Around 5 seconds after non
any button had push, the display stop blink, user
can click the music track to playing and turn up the volume.
Setting button :
Push the
"Setting" button one
time, the one digit display will blink for active the function
setting , push the right "Selector" button can change function . While
the display blink, push "Setting" again , the right next
one digit display
will blink , push the left "Selector" button the left next one digit
display will blink .
While the "Dis" LED blink, push
the "Setting" one time , the menu will change to menu page 2.
Left Selector buttons:
While
the display non blink, for select the input sources.
While the display blink,
for the setting digit move one left.
Right Selector buttons:
While
the display non blink, for select the input sources.
While the display blink, for
setting the digital process functions.
The 1st display element : (Was print Syn
:Syn version for correct
HDMI data, Asy version for Dith)
Syn version : If the HDMI input had noise, distortion or some
samplings no sound, user can setting the 1st number ON (1) or OFF
(0) to fixed the issue. In default is OFF (0) .
Asy version :
Active
(1) or Disable (0) dither for all inputs.
The 2nd display element : (Was
print Pll: Simulate
SAA7220 +TDA1541A sound) :
Active
(1) : Simulate SAA7220 +TDA1541A, digital attenuation low to -55DB,
was -130DB. Bitwide low to 16bit , was 24 bit. While active this
function, I are advice setting to OS2 or OS4 mode. But infact, this
function can working with any setting mode.
The 3rd display element :(Was print OS : Oversampling) :
"O" for select oversampling,
"N" for select NOS mode.
The 4th display element : (Was print Mode :OS and NOS modes):
While OS setting on
"O" mean the DAC working under oversampling
mode, loIr number OS modes sound became warmer
and smoother. Or depend on your sense .
Mode "0" : class
technology NOS mode.
Mode "2" : 2X oversampling.
Mode "4" : 4X oversampling .
Mode "8" : 8X oversampling.
While OS setting on "N" mean
the DAC working under NOS mode, it has one mode now, it is the full
new NOS configure design.
The 5th display element : (Was print
Di :Display) :
Active (1) the display
auto dark, the display will become dark in around 10 seconds after
stop operate any buttons . Disable (0) the display auto dark, the display light
always.
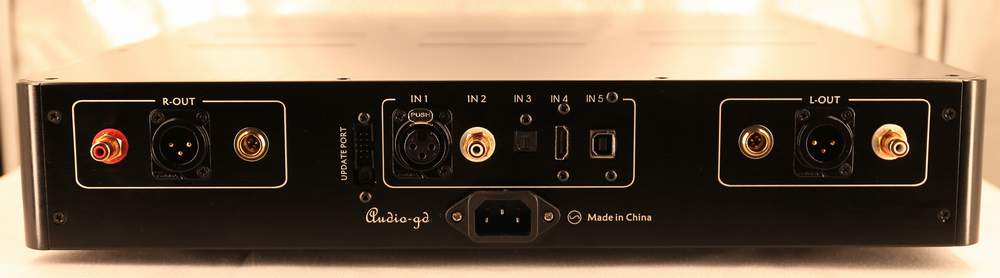
HDMI
definitions : (Compatible with PS audio standard)
Pin 1 : SDATA -
Pin 2 : GND
Pin 3 : SDATA +
Pin 4 : SCLK +
Pin 5 : GND
Pin 6 : SCLK -
Pin 7 : LRCK -
Pin 8 : GND
Pin 9 : LRCK +
Pin 10: NC (Syn
version still need the Mclk+ on this pin)
Pin 11: GND
Pin 12: NC (Syn
version still need the Mclk- on this pin)
Pin 13: NC
Pin 14: NC
Pin 15: NC
Pin 16: NC
Pin 17: GND
Pin 18: NC
Pin 19: NC
R8_tda_Asy don't need MLCK input . Even the
source has MLCK output but has not effect .
|
Firmware
update introduce:
Since 8th. June 2020, the unit has the update port on rear for
update the FPGA firmware and USB interface firmware without open the
unit.
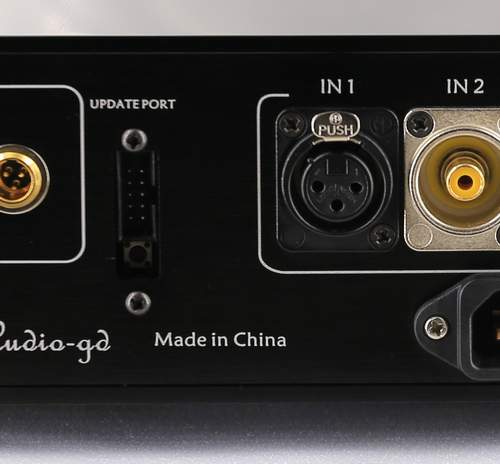
UPDATE PORT 10 pins port :
To connect the Altera Blaster and proceed
with an FPGA firmware update from Windows, using the Altera
programming software. These updates are meant for upgrading the
functionality and/or sound quality .
UPDATE PORT switch :
For updating the built-in Amanero
module's firmware through the USB input.
Amanero firmware download link:
https://www.amanero.com/combo384_firmware.htm
Amanero firmware update guide :
Please download the update tool and
guide from Amanero's official web . In the official update guide,
there is a step requiring that two pads be shorted more than 1
second on the Amanero module , while with the DI-Large, users only
need to push the red button for more than 1 second in order to
perform the same step . Other update steps are the exact same as in
the official guide.
|