|
Functions :
(Setting state)
The DAC can setting the digital
process functions on front plate to change the sound flavors, without open the unit .
Important warn:
Before push the
"Setting" button,
we are advice user turn low the amp volume, stop the
music track playing .
Because for
the aim to reproduce the best sound quality, the DAC without mute design , change the
setting may output circuit switch sound .
Around 5 seconds after non
any button had push, the display stop blink, user
can click the music track to playing and turn up the volume.
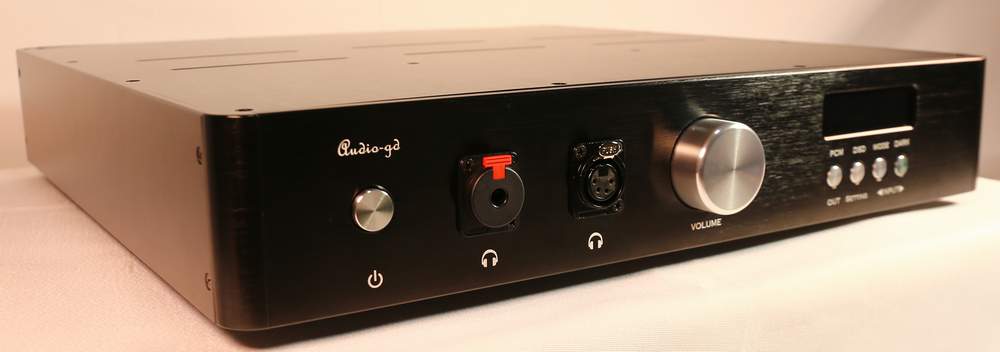
Setting buttons:
For go into the setting menu.
Left INPUT buttons:
While
the display non blink, for select the input sources.
While the display blink,
for the setting digit move one left.
Right
INPUT buttons:
While
the display non blink, for select the input sources.
While the display blink, for
setting the digital process functions.
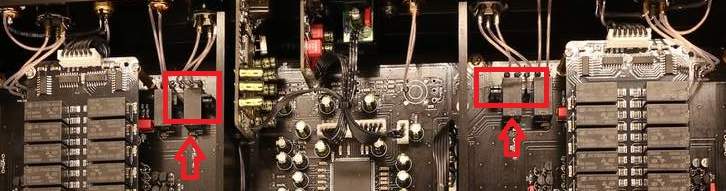
Gain setting:
The unit has two gain modes, the 12DB on low gain for drive
the headphone which has over 95DB sensitivity, and 22DB on high
gain cooperate with the strong power ability, enough to drive the HE6 which has around 85DB
sensitivity headphones.If customer want to boost 6-12DB gain, in
total 28-34DB gain.
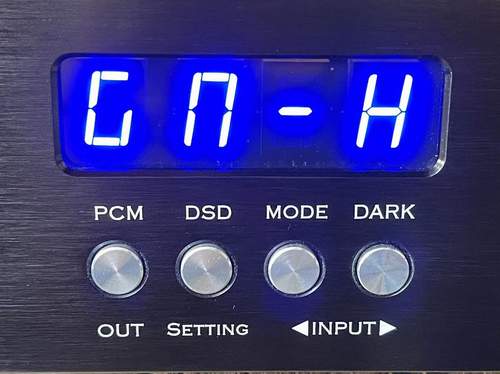
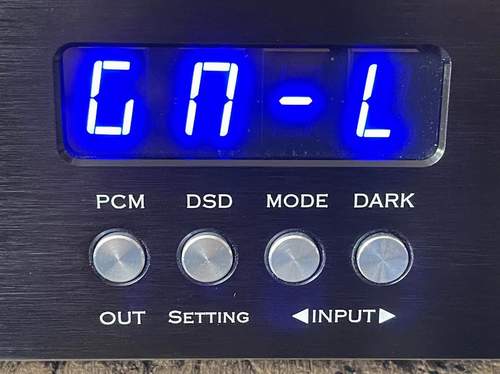
Push the "Setting" button one time, the one digit
display will blink for active the function setting , turn the volume
knob high to set the amp work with High gain (The display show Gn-H),
turn the volume knob low to set the amp work with Low gain (The
display show Gn-L). After set to High gain, the volume number right
down side has a LED light . Set to Low gain , that LED dark.
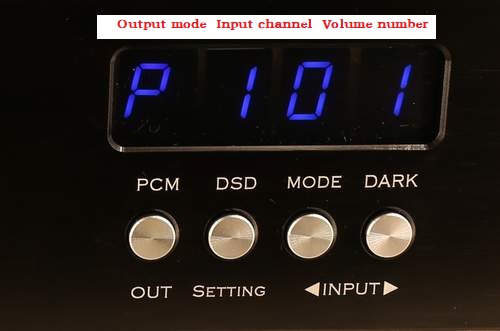
Mode setting:
Push the
"Setting" button one
time, the one digit display will blink for active the function
setting , push the right "INPUT" button can change function . While
the display blink, push "Setting" again , the right next
one digit display
will blink , push the left "INPUT" button the left next one digit
display will blink .
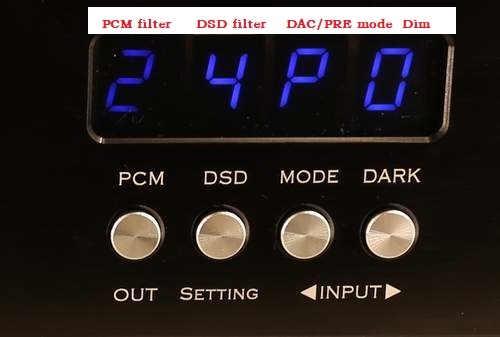
PCM (PCM filters options) :
Display 1:
Fast roll-off, Linear.
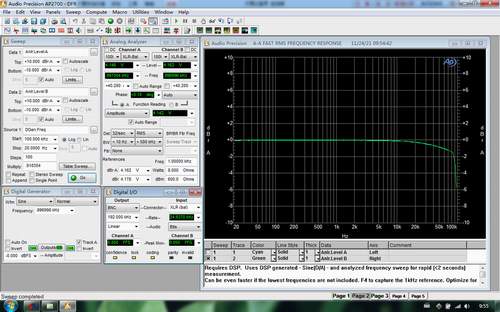
Display 2:
Slow roll-off, Linear.

Display 3:
Fast roll-off, Minimum. (Recommend for most
neutral sound )

Display 4:
Slow roll-off, Minimum
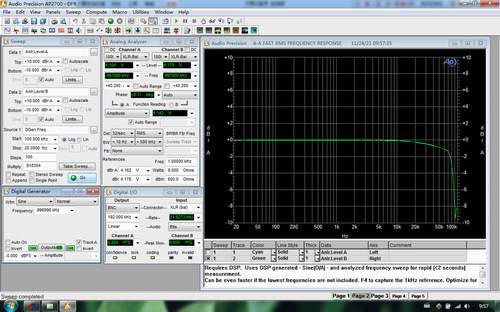
Display 5:
Fast roll-off, Apodizing.

Display 6:
Fast roll-off, Hybrid.

Display 7:
Brickwall filter.

DSD (DSD fileters options) :
Display
4: 47KHz .
Display 5: 50KHz.
Display 6:
60KHz.
Display 7:
70KHz.
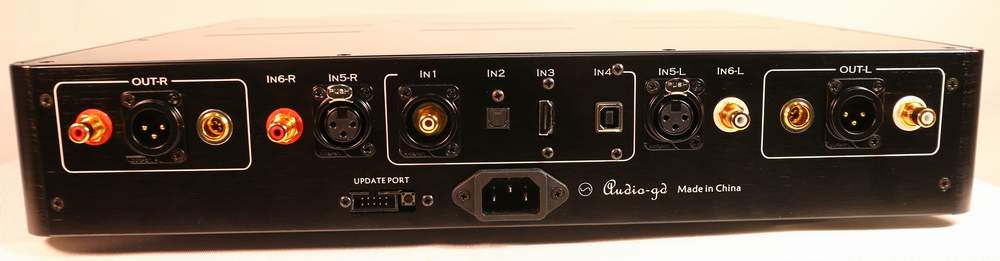
Mode (Select
Output mode of rear ) :
"P" for select rear
output as preamp, with volume control.
"d" for select rear output as DAC mode, without volume
control.
Please
note:
1,If your external power amp
without volume control, you must confirm the D-27 setting on "P"
mode before connect with the power amp.
2,Both modes have not effect
the headphone output mode)
Dark (Display auto dark option) :
Active (1) the display
auto dark, the display will become dark in around 10 seconds after
stop operate any buttons . Disable (0) the display auto dark, the display light
always.
|